


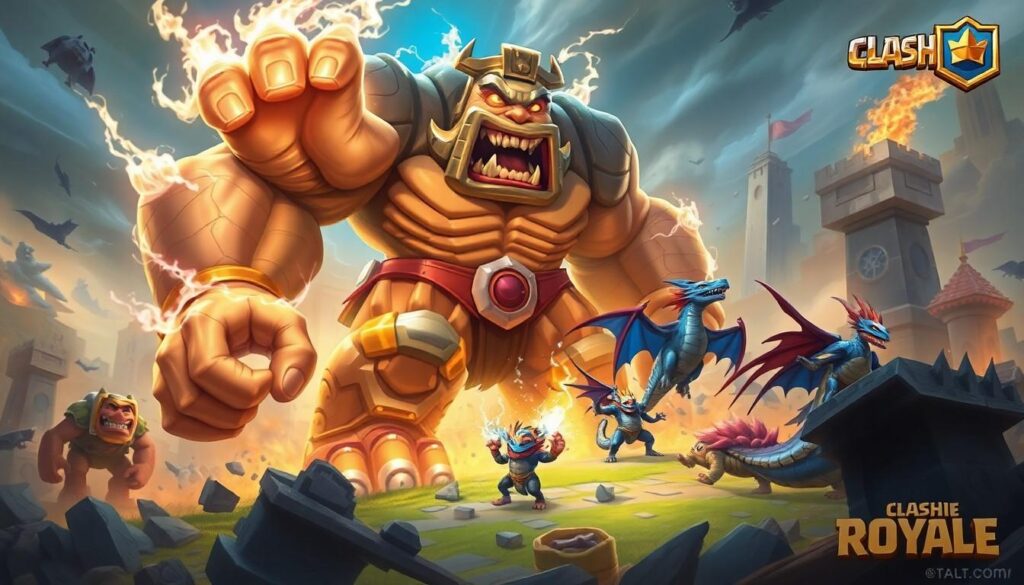
In the world of Clash Royale, few cards strike fear into the hearts of opponents quite like the Golem. This hulking mass of rock and fury isn’t just a pretty face; it’s a powerhouse that can turn the tide of battle in an instant. Imagine sending a lumbering giant to crush your enemy’s towers while they scramble to defend against this behemoth. It’s like watching a toddler with a sledgehammer—chaotic but oh-so-satisfying.
Overview of Golem in Clash Royale
Golem serves as a dominant force in Clash Royale, influencing match outcomes with its immense power. Players often rely on this tank-like unit for strategic advantages.
Golem’s Role in Game Strategy
Golem acts as a win condition due to its high hit points and damaging capabilities. When deployed, it distracts enemy troops while absorbing damage, allowing support cards to back it up effectively. Coordinating Golem with units like Baby Dragon or Electro Dragon enhances its offensive potential. Since Golem’s primary function revolves around pressuring opponents, it can also draw enemy attention away from towers. Players often use it as an initiator for strong pushes, pushing through the opponent’s defenses while creating opportunities for counterattacks.
Card Statistics and Attributes
Golem possesses 8 Elixir cost, emphasizing its significance on the battlefield. With a hit point total of 3,600, it stands as one of the most durable cards. Damage per second reaches 120, helping to inflict substantial damage on towers. Upon defeat, Golem splits into two Golemites, each with 1,200 hit points. This unique attribute enables continued presence even after destruction, compelling opponents to deal with additional threats. Overall, Golem’s statistics make it a key card for any player’s deck strategy.
Effective Decks Featuring Golem

Golem integrates well into various decks, enhancing strategic play with its unique attributes. Players often combine it with synergistic cards for optimal performance.
Synergistic Cards
- Baby Dragon: This airborne unit supports Golem by targeting swarms and ground troops, ensuring improved protection during pushes.
- Electro Dragon: With its stunning abilities, it complements Golem by disabling enemy troops and towers, allowing the Golem to reach its target.
- Night Witch: Generating Golemites, she provides additional pressure while the primary Golem distracts and absorbs damage from enemy defenses.
- Tornado: Using this spell, players can effectively group enemy troops, making them vulnerable to splash damage from supporting units, enhancing Golem’s effectiveness.
- Zap: A low-cost spell that can reset Inferno Towers or stun defenders, ensuring the Golem continues its charge towards the tower.
Suggested Deck Examples
- Classic Golem Deck: This deck features Golem, Baby Dragon, Electro Dragon, Night Witch, Tornado, Zap and a building like Inferno Tower for defense.
- Beatdown Variant: A powerful mix containing Golem, Mini P.E.K.K.A, Night Witch, Electro Wizard, Tornado, Zap, and Elixir Collector for enhanced elixir generation.
- Control Strategy: A control-focused deck with Golem, Ice Spirit, Mega Minion, Baby Dragon, Tornado, Zap, and Cannon for defensive support.
- Bridge Spam Deck: Utilize Golem alongside Battle Ram, Bandit, Electro Wizard, Night Witch, Tornado, and Zap to create intense pressure and quick counters.
These combinations effectively leverage the Golem’s capabilities while ensuring solid defense and support strategies.
Golem’s Strengths and Weaknesses
The Golem stands out in Clash Royale due to its unique strengths and notable weaknesses that affect gameplay.
Strengths
Massive hit points define the Golem, allowing it to absorb significant damage during pushes. Damage per second ranks at 120, making it effective against buildings and weaker troops. Upon defeat, it splits into two Golemites, ensuring continued pressure on opponents. The Golem serves as a win condition, drawing enemy attacks away from towers, which provides opportunities for supporting troops to deal damage. Pairing it with units like Baby Dragon or Electro Dragon enables effective synergy, enhancing overall offensive capability. Versatile strategies arise from combining the Golem with support spells like Tornado or Zap, allowing control over enemy troops.
Weaknesses
High Elixir cost at 8 limits its deployment frequency, forcing strategic planning during matches. Speed remains a concern, as the Golem moves slowly, giving opponents time to counter with fast troops. Vulnerability to high-damage area spells like Fireball and Poison can weaken its effectiveness, especially against well-prepared decks. Swarm units can exploit its slow attack rate, overwhelming the Golem if left unprotected. A lack of ranged attack means it struggles against defensive structures, requiring support to effectively deal with towers and buildings.
Tips for Using Golem Effectively
Utilizing the Golem effectively requires strategic planning and coordination with supporting cards. Understanding the best ways to incorporate it can lead to victory.
Offense Strategies
Starting a Golem push on the opposite lane creates a distraction for the opponent. Deploying support troops like Baby Dragon or Electro Dragon behind the Golem maximizes offensive potential. Spells such as Tornado can help control enemy troops, ensuring the Golem advances toward the enemy tower. Exploiting the Golem’s high hit points allows players to absorb damage while protecting support cards. Building up a significant Elixir advantage before launching an all-out push can overwhelm opponents, making them unable to defend effectively.
Defense Strategies
Defensively, the Golem can absorb damage meant for other vital units. Placing it strategically can distract powerful enemy troops, providing opportunities to counter-push. Utilizing low-cost cards to cycle back to Golem quickly enhances defensive play. Pairing it with defensive spells like Zap ensures protection against swarms while allowing for a counter-attack. Reinforcing defenses with cards that can deal area damage, like Baby Dragon, keeps support units alive longer in battle, helping to maintain pressure on the opponent.
Conclusion
The Golem stands out as a powerhouse in Clash Royale. Its ability to absorb damage and create chaos makes it a vital component of many successful decks. Players can leverage its strengths by pairing it with synergistic units and spells to maximize its impact on the battlefield.
While it has vulnerabilities such as high Elixir cost and slow movement, strategic deployment and support can turn these weaknesses into advantages. Mastering the Golem’s use not only enhances offensive strategies but also opens up opportunities for effective defense. Embracing the Golem in gameplay can lead to thrilling victories and a deeper understanding of Clash Royale’s dynamic mechanics.